Outlook 2010 provides many different ways in which you can keep track of key email messages that you receive on a daily basis. One such method involves formatting your email messages. This will make important messages stand out in your Inbox and thus draw your attention to them as soon as they arrive in the Inbox. In this tutorial, you will learn how to apply a conditional formatting rule to your messages so you can highlight important email messages.
How to Use Conditional Formatting to Highlight Important Email Messages
1. Select the Inbox.
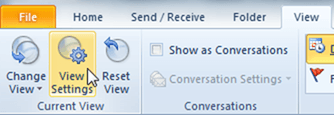
2. On the View tab, in the Current View group, click View Settings.
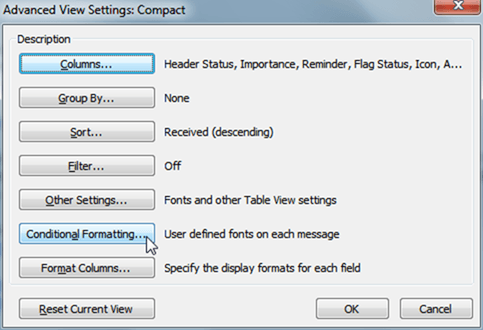
3. In the Advanced View Settings: Compact dialog box, select Conditional Formatting.
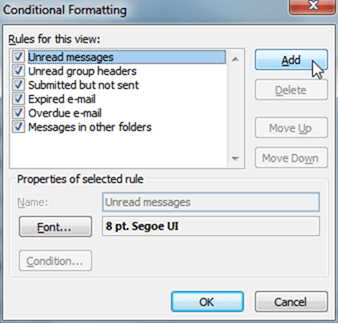
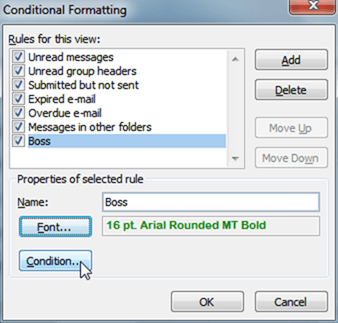
4. In the Conditional Formatting dialog box, click Add to create a rule.
5. In the Name text box, type a name for the rule.
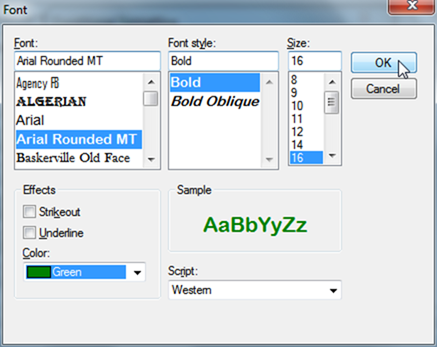
6. Click Font and in the Font dialog box, select a font, font style, size, and other attributes such as effects, and color and click OK.
7. In the Conditional Formatting dialog box, click Condition to specify the conditions in which the rule will apply.
8. In the Filter dialog box, set the conditions.
- In the Messages tab, if needed, in the Search for the word(s) text box, type a search text and from the In drop-down list, select a condition.
- Click From and select a sender’s email ID.
- Click Sent To and select the recipient’s email ID.
- Check the Where I am check box and in the drop-down list select an option.
Select a time when you want the rule to apply and click OK.
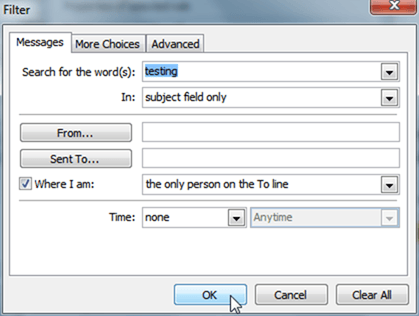
Note: You don’t have to fill in all the fields. Only use the fields that you need to create the condition you require.
Similarly, you can use the More Choices and Advanced tabs to create advanced rules.
8. Click OK to close both dialog boxes.
Here’s what the message will look like.
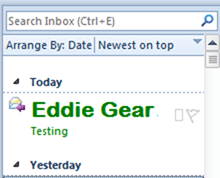
Now you can be quickly alerted to important email messages in your Inbox.
If you found this tutorial useful, be sure to check out our Archives section for more Outlook tutorials.
Leave a Reply