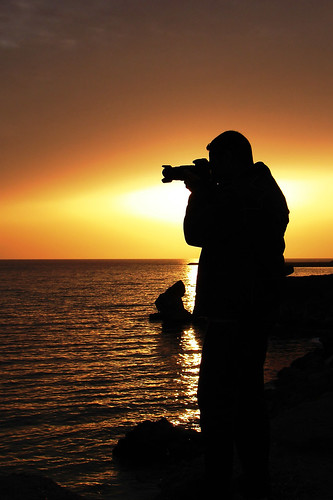
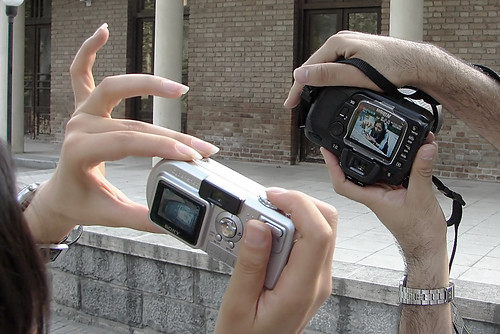
As a travel photographer, your task does not end with capturing heartwarming moments. That in fact might be looked as just the beginning. To make the photographs more appealing and to bring out the magic which you witnessed through your lens, every photograph might need a little post editing to touch up the picture. Here are some easy tips to editing pictures while traveling.
The first step of editing pictures begins with short listing the pictures you want to edit. It is always advisable to take a back up of all the pictures and then sort through them to keep some and do away with the rest. No matter how much you love every shot you have captured, there is not going to be enough space, especially while traveling, to store all of them.
 While sorting through the images retain your photographer instinct. An image might not have great colors or sharpness, but the said picture might have an interesting subject and hence deserves to be retained.
There are various easy and complex ways to add the finishing touches to your photograph. While traveling is a tedious task, carrying a heavy laptop which will allow you to edit your image in detail is also not possible. However, the introduction of lighter laptops and tablets has made it possible to carry out minor edits while on the go.
Tips to Editing Pictures while Traveling
Here are some tips to instantly enhance a picture:
Adjust and Enhance the level
With the help of an easy tool like Photoshop you can immediately change the impact of the photograph. Go to Image > Adjustments> Levels to adjust the levels of contrast and colors in the image. You also have the option to auto adjust levels. If you are not happy with the output of the auto adjusted levels, you can manage the level curve manually till you are satisfied with the results.
Balance and Saturate
Mist, fog and other environmental factors can dampen the vibrancy of the colors in your photograph. Using the Hue/Saturate tools you can adjust the vibrancy of the colors according to your tastes. Make sure you do not over do the hues to take away the natural look of the image.
Similarly you can also use the color balance tool to manage the shades captured in a photograph on a bright day. You can adjust the shades of the color to give a more natural and warm feel to an overly bright picture.
Brightness and Contrast
Adjust the brightness of a dull picture to bring out the true essence of your photograph. A dull picture can steal the effectiveness of a colorful photograph. Similarly experimenting with the contrast settings can sharpen your picture and bring out the details in a more dramatically appealing way.
Cropping the unnecessary
Often a shot captures more than what is necessary. The trick to draw attention to your subject is to crop out the other unnecessary details. Cropping a picture also helps center the subject of the photograph.
Desaturate and Selective Color
Using the desaturate option you can immediately convert any photograph to black and white. Very often the mood of a photograph is stronger when the picture is in black and white. You can use the magic brush from Photoshop or the selective color option to a highlight one aspect of your photograph by adding color to it in a desaturated picture.
All these editions do not need the use of high grade equipment and can be easily done while on the move.
Author Bio: Roston Lin has written numerous blog posts on technology and gives the best deals on digital cameras that are of excellent quality with great features. Visit his website to know more.

Leave a Reply