Gmail is a popular email client used by many individuals and businesses. In today’s social media centric world, it is important to make your self available on various social networking platforms, and keep your customers and clients informed about your accessibility on these networking platforms. One of the cool ways to do that is to add social media icons to your Gmail signature. WiseStamp is one such application that lets you add key social media elements to your Gmail signature. This post is about another web application called BrandMyMail that not only lets you add social icons to your signature, but also lets you customize your Gmail message with pre-designed templates. In this tutorial, I’ll show you how to create customized Gmail messages with social media updates using BrandMyMail.
How to Create Customized Gmail Messages with Social Media Updates
1. Head over to http://www.brandmymail.com/
2. Click Get Started.
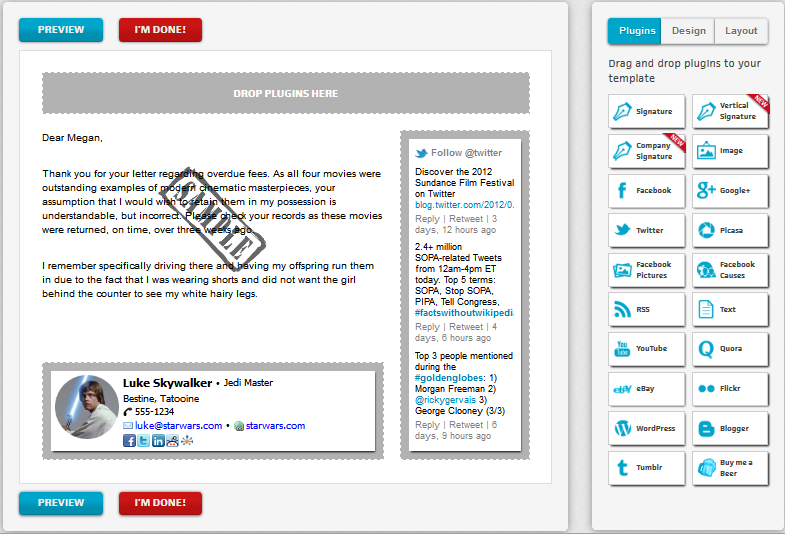
3. You will see a default template. The right pane displays three tabs. Plugins, Design, and Layout. You can select from a range of plugins including Twitter, Facebook Pictures, RSS, YouTube, Picasa, Flickr, and more. Just drag and drop the plugins into the placeholders, click inside the placeholder to add your custom URLs and links. This will depend on the plugin you are adding. For instance if you add a signature, you must add your job title, social media account usernames, etc.
4. Choose a layout and a design and then click Preview.
5. Make further modifications, if required and click I’m Done.
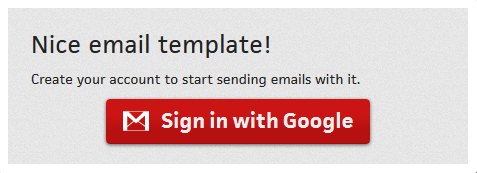
6. Then in the message box that pops up, click Sign in with Google.
7. You will be taken to your Gmail login page. Sign in to your email account using your Gmail credentials and allow access to the extension.
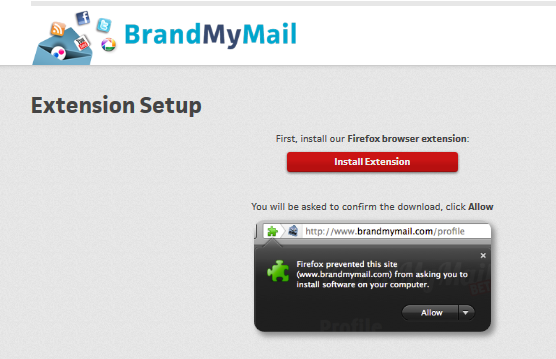
8. In the Extension Set Up page, click Install Extension to install the Firefox or Chrome extension. At the time of writing this post, BrandMyMail only works on Firefox and Google Chrome browsers. It can also be accessed on iPad, iPhone and iPod Touch devices.
9. After installing and restarting your browser, your email template will be saved on the dashboard.
10. Head over to your Gmail account and click Compose mail.
11. In the message form, you will notice the Send and Preview buttons added to the menu.
12. Enter the recipients, email address, type in the subject and click Preview to check out how your email looks.
13. When your satisfied with the email message, click Send.
Here’s a quick video tour of how BrandMyMail works.
[youtube]g5pi1UJEf4s[/youtube]
BrandMyMail works much more fluently on Google Chrome as compared to Firefox. There’s no way of directly using Gmail to create your templates. You must first create your email template on the BrandMyMail page and then navigate to Gmail to send the message.
However, BrandMyMail is a handy web app for users looking for a quick way to create customized Gmail messages with real time social media updates to their customers.
Check out the tool and let us know what you think of it.


This is great to read and I am gonna follow that it would be great to customize gmail messages with social media updates.