If you’ve been using Windows 10 for a fairly long time, chances are your hard disk contains system files, Windows Update leftovers and outdated device drivers that are no longer necessary for the functioning of the system but are still taking up valuable space. Windows 10 has built-in feature called the Disk Cleanup tool that helps you remove such unwanted files and free up valuable hard drive space on your PC. Let’s take a look at the Disk Cleanup tool in Windows 10 and how to use it to clean up your files and free up hard disk space.
Note: Before you proceed with any clean up activity, just make sure that any pending Windows updates are installed.
The WinSxS Folder
The WinSxS folder is where the operating system stores all the operating files. Any Windows update that happens always contains a ton of bug fixes, security updates and new features and applications and since this may often cause compatibility issues with other programs or applications running in Windows, they are stored in the WinSxS folder with their respective version numbers. The result of this is that the folder can contain many old and duplicate files, which can come in handy when you need to uninstall a current version or need to revert to a previous state.
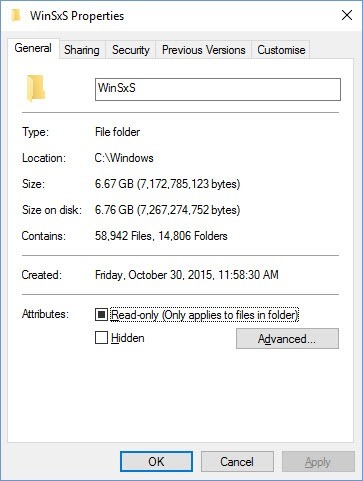
Since the folder contains files from a number of updates, over a period of time, you’ll find that the folder actually takes up a big chuck of your hard disk space. If you head over to C:\Windows\WinSXS and click the Properties button, you will see how many files and folders it contains and how much space it takes up on the hard disk. My system was upgraded from Windows 8 to Windows 10 and contains about 58942 files taking up 6.76 GB of my hard disk space.

The Disk Cleanup Tool
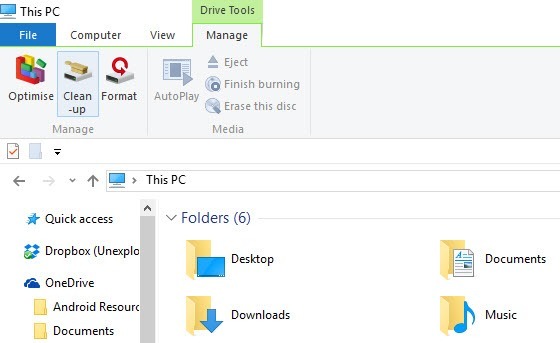
Now the Disk Cleanup tool is designed to clean out all the old and unnecessary files that can clog up the hard disk. To run the Disk Cleanup tool, you need to open File Explorer, select This PC, then select Local Disk (C:). On the Ribbon, in the Drive Tools Manage contextual tab, click the Cleanup button.

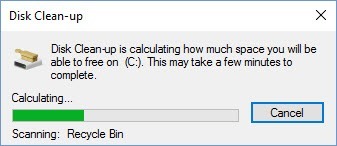
The Disk Cleanup window will open up and scan your hard disk to determine what can be removed safely. This analysis will take only a few minutes.

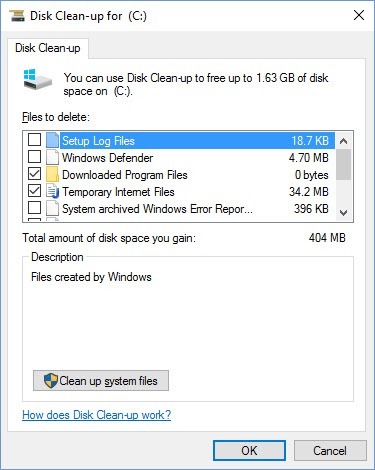
Once the analysis is complete, the main Disk Cleanup Window will be opened and it will indicate (by a check mark) the unnecessary files (with its approximate size ) on the hard disk that can be removed. At a glance, you will also be able to see the net disk space you gain if you go ahead with the cleanup. In my case, its about 404 MB.

Clean Up System Files
Clean Up System Files is a button on the Disk Clean up window with a UAC (User Account Control) icon. next to it indicating that depending on your UAC setting you may see a prompt when you click the button. The Clean Up System Files feature analyzes additional locations on the hard disk that can be safely removed. When you click on the button, it will once again scan the hard disk and display a different set of results.
Running Disk Cleanup
To run the disk cleanup, simply select all of the items you want to clean up and click OK. In the Disk Clean up pop up windows, click Delete Files to confirm the deletion. When the clean up is completed, the dialog will close. Restart your computer once the process is complete. To check if the clean up was a success, you need to go back to the Disk Cleanup feature and check how much of space you gained. You can also go to the WinSxS folder properties dialog and recheck the amount of free space that was cleared.
If you have done a Windows 10 upgrade and are cramped for space, try using the Disk Cleanup tool to remove old and unused files and free up hard disk space.
Leave a Reply