If you’re working on a project with multiple people and you have to assign tasks to each person, keeping track of the various tasks at hand is not easy. It is better in such circumstances to maintain a checklist of tasks that need to be done so that you can check if all tasks have been delegated to the respective people, and you haven’t missed out anything. You can always carry a printout of the checklist to your meeting, and pin one to the dashboard in your office, so that everyone can keep track of whose doing what. This Word 2010 tutorial is a guide to help you create a checklist in Word 2010 with check boxes quickly with little effort.
How to Create a Checklist in Word 2010
1. Open a Microsoft Word 2010 document and enter the items you want to have in your checklist. You could enter each item on a new line and leave a blank line after each item to ensure there’s adequate spacing.
2. Select all the items. You can drag the items from top to bottom to select the list items.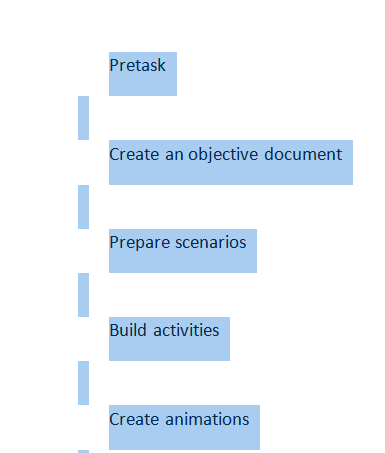
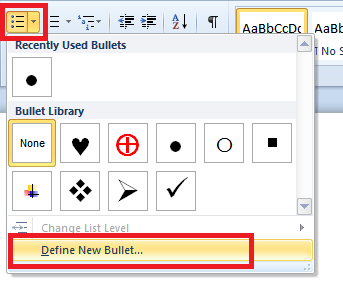
3. Apply bullets to the text. On the Home tab, in the Paragraph group, click the Bullets drop-down arrow and select Define New Bullet.
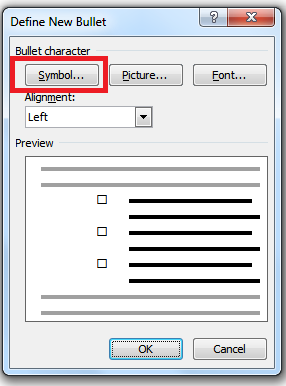
4. In the Define New Bullet dialog box, click Symbol.
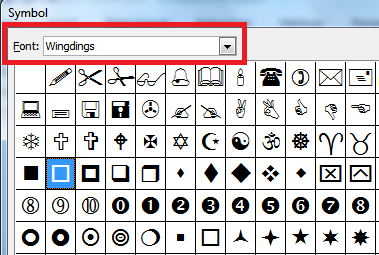
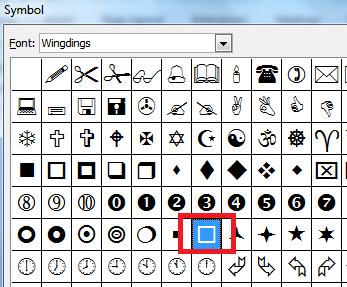
5. In the Symbol dialog box, from the Font drop-down list, select Wingdings.
6. In the Symbol dialog box, click a box, preferably a non-shaded one and then click OK.
7. Click OK again to close the Define New Bullet dialog box.
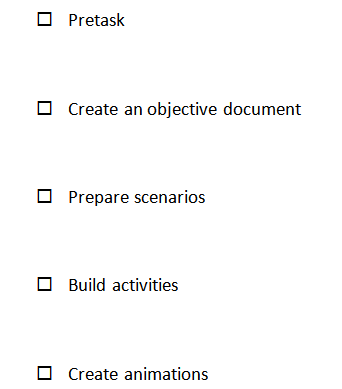
That’s all there is to it. Your Word document will now display your checklist as bulleted text showing the box at the beginning of each entry. You could also save this as a Word template and reuse it later.
Have you created a checklist using Word 2010? And if you have a Word 2010 tutorial, you’d like to share with us, drop in a line at editor@theapptimes.com.
Thanks. It ils short ans simple to apply. This is suitable for printed check-list to ne filled manually. How about clickable bullets check-list to be filled un the computer?
Thanks!