You can now scan documents to PDF on your smartphone without the need for any PDF tools. In this tutorial, we show you how to scan documents using your Android camera so you can quickly print out receipts and other documents to PDF without spending a lot of time fidgeting with your scanning machine.
You’ll need just a couple of tools to scan your documents to PDF. One is your Android smartphone of course, and the other one is the Google Drive app. I’m using Google Drive because at the moment it is more versatile than other PDF scanning apps on the Play Store. If you’re using another app, you can give it a go if it has the scan with camera option available, though the procedure for doing this may be slightly different from this app.
So here’s how to scan documents using your Android camera and Google Drive.
How to Scan Documents Using Your Android Camera
1. If you don’t have the Google Drive app installed on your Android, download it right away.
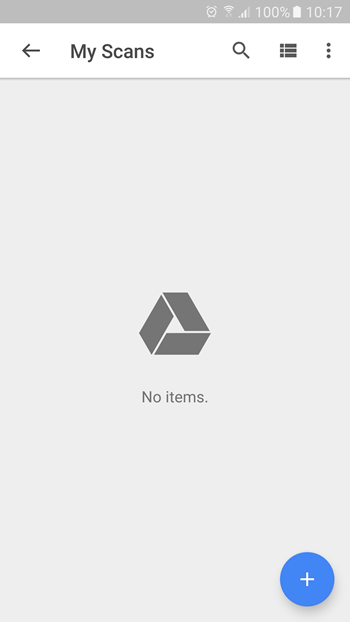
2. Launch the Drive app and navigate to the folder where you want to save your scanned document. I’ve created a folder called My Scans to easily track all of my scanned files, so that’s where I’ve navigated to.
3. At the bottom right corner of the screen, tap the + button to open up a menu screen.

4. Tap the Scan icon.
![]()
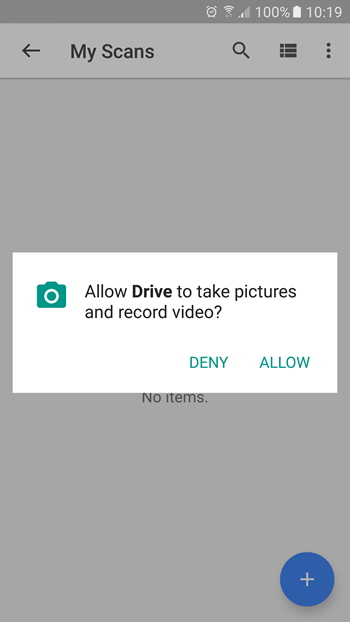
5. In the pop-up message that requests permission to allow Drive to take pictures and record video, click Allow.

6. The camera will open up and you can start scanning right away. Just adjust your screen and hit the Blue button at the bottom of the screen to take the screenshot. Here are some pointers when scanning a document:
- If you are scanning a white piece of paper, try to place it in a dark background to enable the camera to nicely capture the edges.
- Try to get an overhead shot of the document as it usually comes out much better.
- Be prepared to do a few takes as sometimes the edges of the document gets clipped off or the alignment may be a bit off.
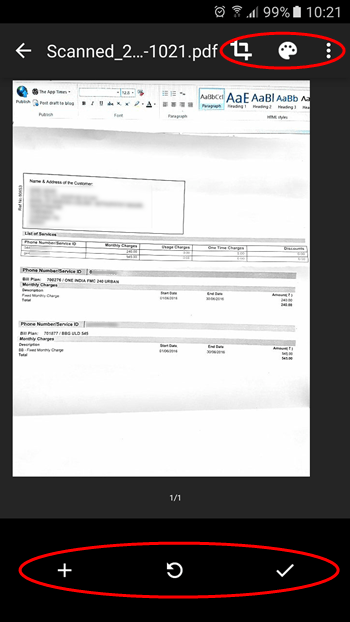
7. Once the document scan is complete, you can make a few edits to it, such as:

- Cropping: If the image looks too big, you can cut off the extra, unwanted bits.
- Coloring: By default, the scan appears in Black and White, but you can also scan in color. This option lets you select from a few options including Color and Color Drawing, so select the one that works best for the document you are scanning.
- Extras: The 3 dotted menu has options to delete the scan, rename it, rotate it or apply further settings. The Settings menu has some additional options such as automatic image enhancement, selecting a different paper size, choosing an orientation, and setting an image quality.
- At the bottom of the scan preview window, you have 3 buttons: a + button, a retake button, and a tick mark button. The + button lets you add another page to the same PDF, the retake button lets you re-scan the document if it didn’t turn out right, and the tick mark button lets you save the scanned document to PDF.
Once you’ve taken your scan and confirmed that the file is good, take the tick mark at the bottom to save the document to PDF. Drive will automatically open the folder where you intended to save it and sync it. Once it’s finished syncing, you can access the document from any device or computer where Drive is installed.
That was pretty easy wasn’t it? So the next time you’re on the go and need to get a document scanned urgently, use this simple technique to scan documents to PDF using your Android camera.
Leave a Reply