If you have used tables in your PowerPoint presentation, and applied different table styles to it, you will know that there are no readily available options to apply a 3D effect to the table. While you cannot directly create a table and apply a 3D effect, you can create a rectangular shape and apply the effect. Here’s how to create 3D effect for a PowerPoint table.
How to Create 3D Effect for a PowerPoint Table
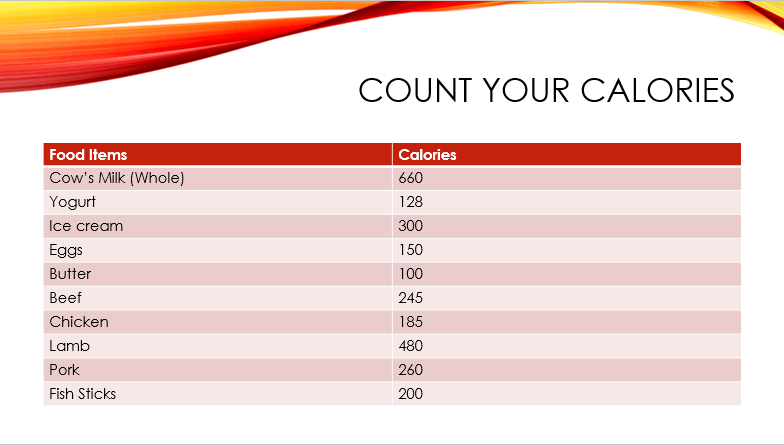
1. Create the table and enter the required data.
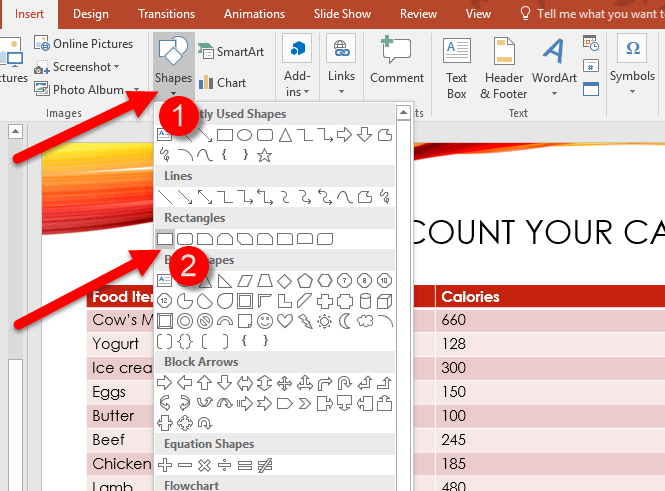
2. Select the Insert tab.
3. In the Illustrations group, click Shapes.
4. From the Shapes gallery, in the Rectangles section, select the first rectangular shape.
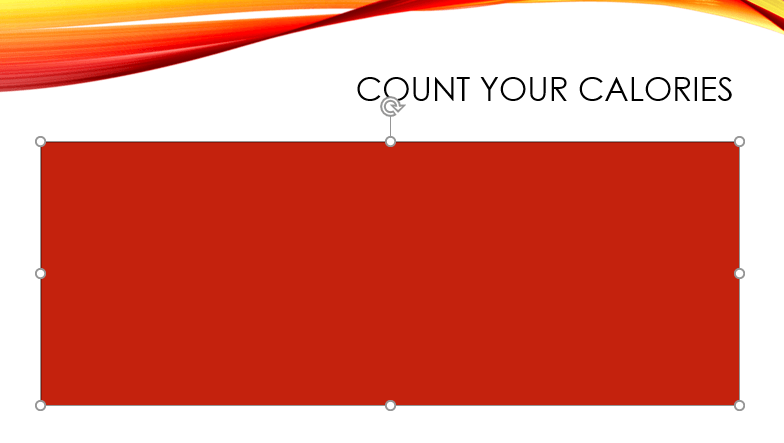
5. On the slide, draw the rectangular shape over the table to cover the table.
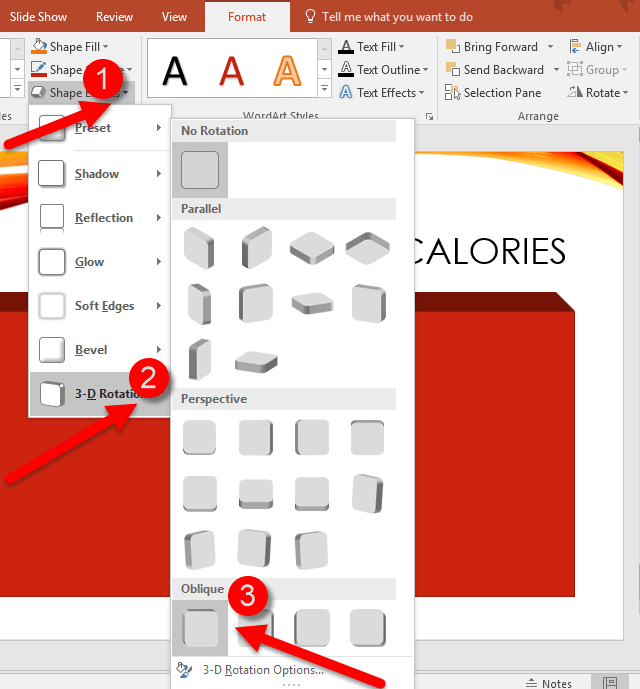
6. Select the Drawing Tools Format contextual tab.
7. In the Shape Styles group, click Shape Effects and from the drop-down, hover the mouse pointer over 3D Rotation.
8. From the 3D gallery, in the Oblique section, select the first option, Top Left.
9. In the Shape Styles group, click the dialog box launcher to display the Format Shape task pane.
10. In the Format Shape task pane, click the Effects icon.
11. From the Effects menu, click 3-D Format.
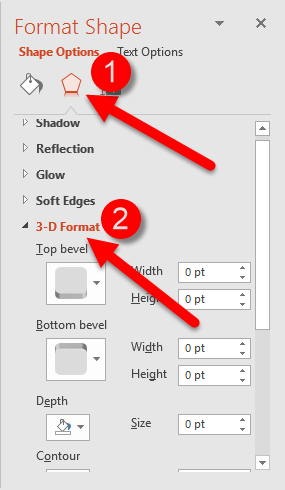
12. In the 3-D Format section, in the Depth section, set the desired depth to 100. If necessary, set other options as you see fit.
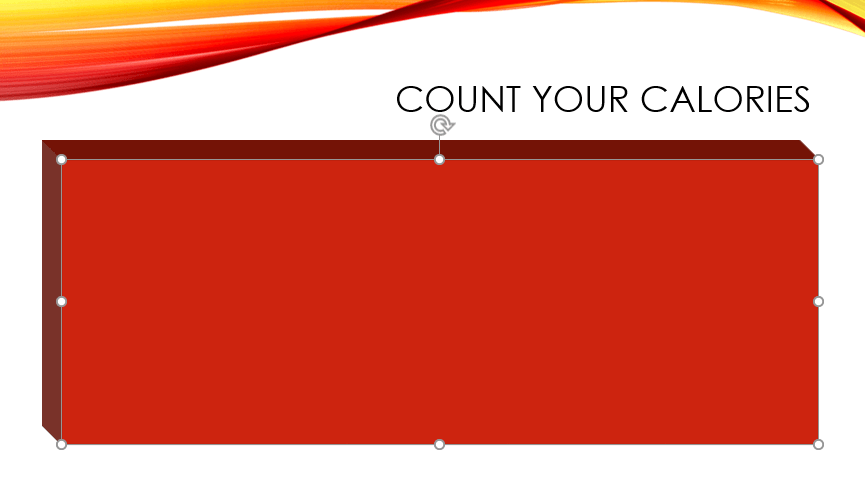
13. On the Drawing Tools Format tab, in the Arrange group, click Send Backward.
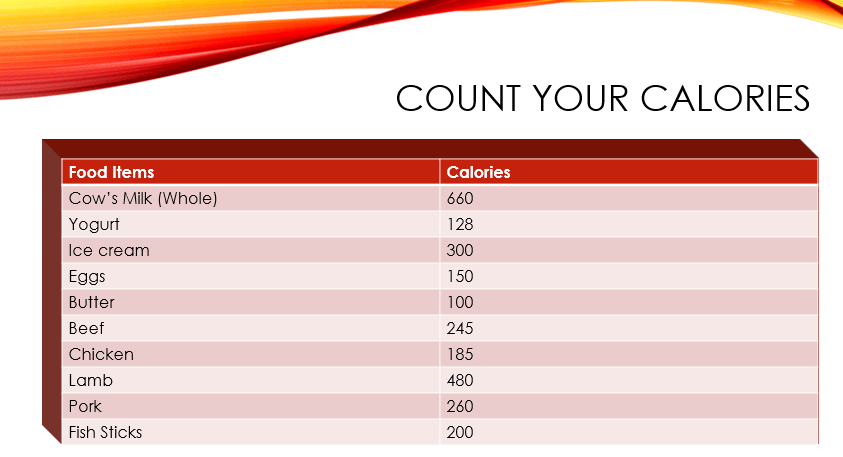
The 3D effect is now applied to your PowerPoint table. So the next time you want to add some cool effects to your PowerPoint tables, try applying various other 3D styles, effects and colors using the options available in the Format contextual tab.
If you found this tutorial useful, be sure to check out other useful tutorials in our Learn PowerPoint Series.
Leave a Reply