The Windows 10 Anniversary Update has made some handy new changes to the Action Center. Not only has the Action Center moved places to the far end of the system tray, users now also have the option to see how many notifications are available for viewing from the number label that is displayed over the Action Center icon.
Another major enhancement is the ability to Prioritize Notifications so that the most important ones show up at the time with decreasing order of importance. If you’re not sure how to get started with prioritizing your notifications in the Action Center, follow this step-by-step guide.
How to Prioritize Notifications in Windows 10
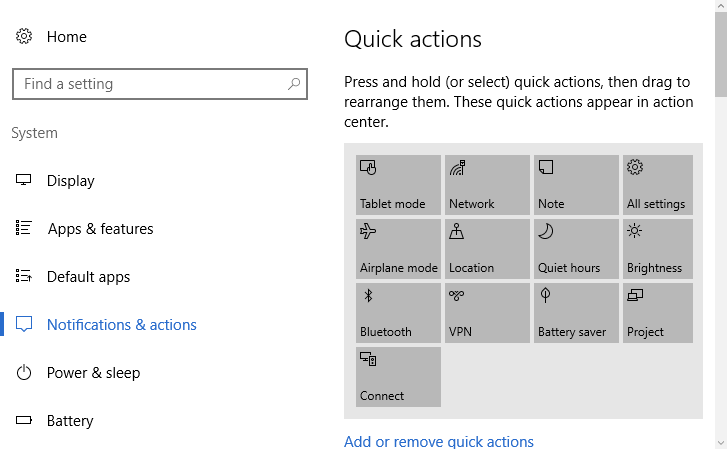
1. Go to Start->Settings and select System.
2. In the System screen, on the left pane, select Notifications & actions.

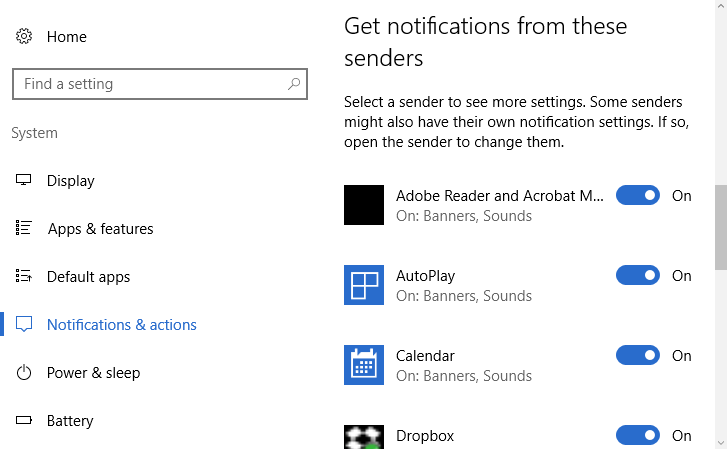
3. On the right pane, scroll down to the list of apps and select the app for which you’d like to set a notification priority.

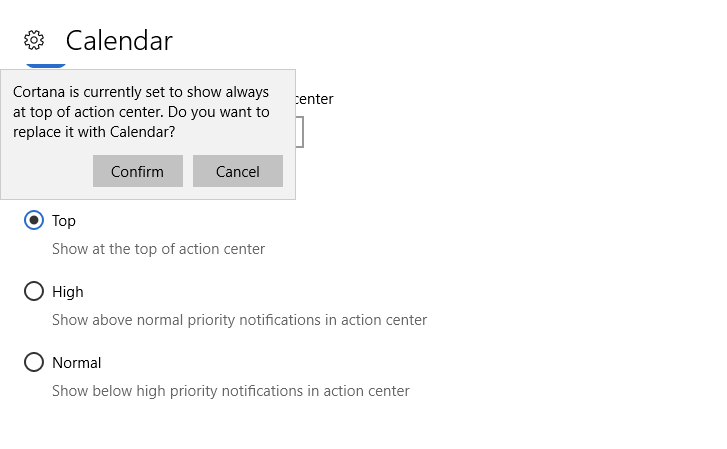
4. On the App Notification screen, scroll down and find the list of priorities. You can choose between one of three priority settings. By default, all apps start out set at low priority with the exception of Cortana. You select whichever option you require.
Normal: Apps set to Normal are displayed at the bottom of the list of notifications in Action Center.
High: Apps set to High show up above the apps set to Normal.
Top: Only one app can be set to Top and it will show up at the top of the notification Center. If you set an app as Top priority, Windows will ask you to confirm that you want this app to replace the one currently set as Top Priority.

Once you’ve made and confirmed your selections, your top priority app will always show notifications at the top of the action center, followed by the high priority ones and lastly the Normal or low priority apps.
This way, you’ll always know the most important tasks first.
Leave a Reply