When you open up a PowerPoint presentation to start entering content into it, the only slide available for you to work on is the title slide. You have to start adding more slides to place your content into it. For this you need to be familiar with inserting new slides, changing the slide layout, arranging slides, changing the slide view and so on.
In this PowerPoint tutorial, we’ll show you how to create and use slides. By the end of this post, you will have thorough knowledge of how to use slides in your PowerPoint presentation to showcase your content.
Note: This tutorial was done using PowerPoint 2016.
Working with Slides in PowerPoint 2016
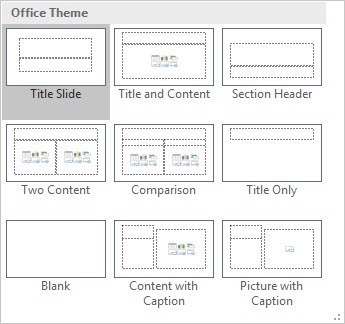
All slides in PowerPoint have placeholders where you place your content. All slides have a specific layout within which the placeholders are present. When you are ready to add your first slide, you’ll need to select a layout that suits your content.
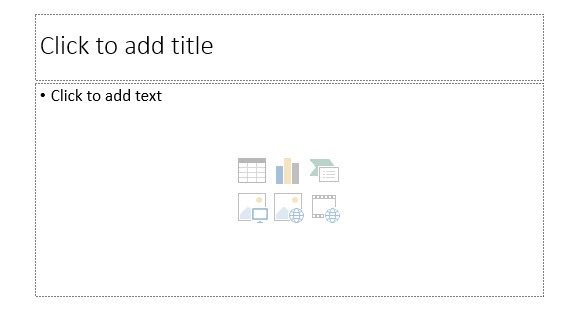
Placeholders hold different types of content such as text, images, and videos. You will usually see thumbnail icons inside the placeholders. These icons indicate what sort of content you can add to the slide. In the example below, the slide has placeholders to add the title and the content, which can be a table, chart, SmartArt graphic, picture, or video.
How to Insert a New Slide in PowerPoint
1. Open PowerPoint and select Blank Presentation.
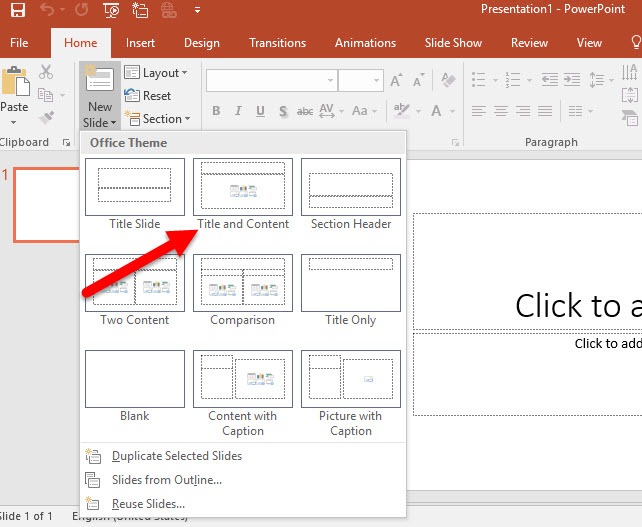
2. On the Home tab, in the Slides group, click the New Slide dropdown arrow and select a layout. For the purpose of this tutorial, let’s select Title and Content.
3. The new slide will appear on the presentation. Click inside any placeholder to start adding content. You can also click an icon to add other types of content, such as a picture or a table.
In the example below, I added a title in the top title placeholder section and clicked the picture icon symbol to add the image into the bottom placeholder.

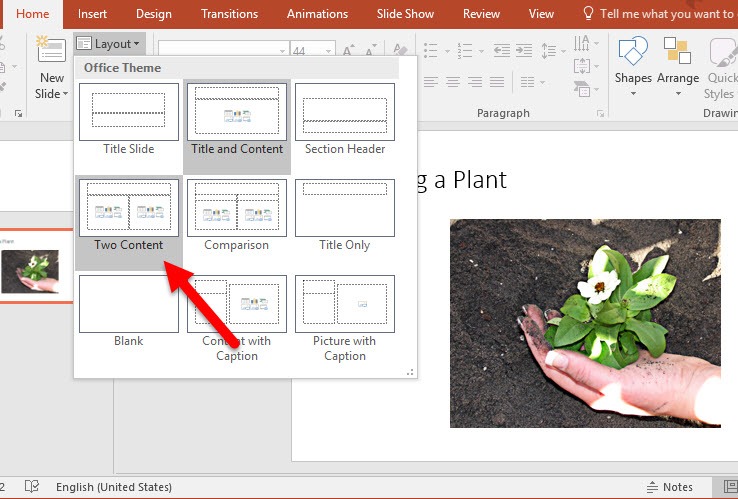
4. If you want to change the layout of the existing slide, on the Home tab, in the slide group, click Layout and select a new layout.
5. If you want to add a slide that uses the same layout as the selected slide, click the top half of the New Slide button to do it.
How to Organize Slides in a Presentation
You can add as many slides as you need to your PowerPoint presentation. The Slide Navigation pane on the left side of the screen shows a thumbnail preview of all your files making it easy to organize your slides. From there, you can duplicate, rearrange, and delete slides in your presentation.
How to Duplicate Slides
If you want to reuse a previous slide in your presentation, you can duplicate it. To duplicate slides, right-click the slide you want to duplicate and select Duplicate Slide from the menu. You can also duplicate multiple slides at once by selecting them first.
How to Move Slides
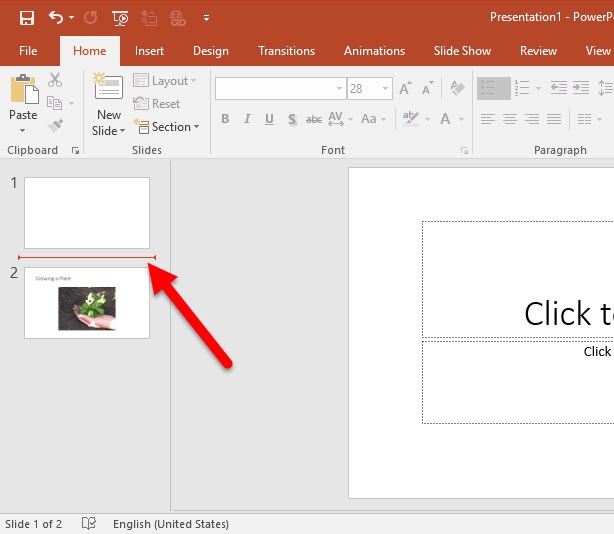
If you want to change the order of the slides in your presentation, in the Slide Navigation pane, click and drag the desired slide to the desired position.
How to Delete Slides
If you want to remove a slide from your presentation, you can delete it. Just select the slide and press the Delete or Backspace key on your keyboard.
How to Hide Slides
You many not always want to delete a slide as you may have use for it later on. In such cases, you can hide the slide. Hidden slides won’t show up in slide shows but are always available in the Slide Navigation pane. You can identify them by their dimmed thumbnails and crossed out slide numbers. To hide a slide, right-click the slide and select Hide Slide.
How to Organize Slides into Sections
When you have a very long presentation, to can divide them into sections so that you can focus on each section one at a time. You can learn more about how to create sections here.
How to Copy and Paste Slides
If you want to create more than one slide with the same layout, you can copy and paste a slide you’ve created previously instead of starting from scratch. To do this:
1. In the Slide Navigation pane, select the slide you want to copy. On the Home tab, in the Clipboard group, click Copy. Or press Ctrl+C on your keyboard.
2. In the Slide Navigation pane, click just below a slide or in between two slides until you see a horizontal insertion point.
3. On the Home tab, in the Clipboard group, click Paste. Or just use the keyboard shortcut of Ctrl+V. The slide will appear in the selected location.
How to Customize Slide Layouts
Sometimes you may find that a slide layout you want doesn’t have the right placeholders to fill your content. You may also want to customize where the placeholders are displayed on the slide. PowerPoint makes it easy to adjust the slide layouts according to your requirement.
How to Adjust Placeholders
1. Select the placeholder. Click the text in the placeholder to see the border. Then, hover the mouse pointer over the edge of the placeholder and click until you see a solid line instead of a dotted line.
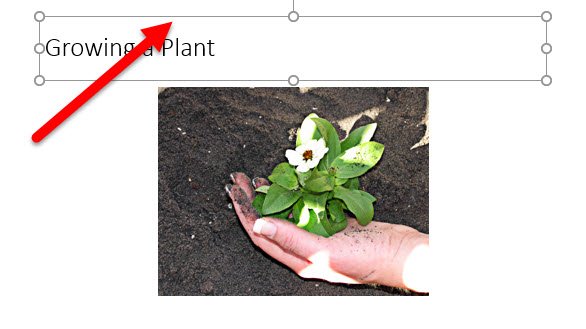
2. Move the placeholder. Once you’ve selected the placeholder, click and drag it to the desired location.
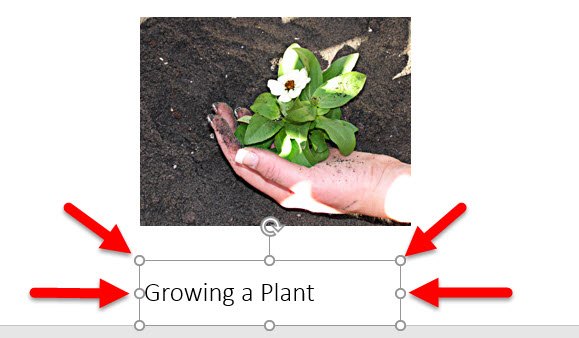
3. Resize the placeholder. If you want to resize the placeholder, select the placeholder and drag the sizing handles until you reach the desired size. Dragging the corner sizing handles will allow you to adjust the height and width simultaneously.
4. Delete a placeholder. If you want to get rid of a placeholder, select it and press the Delete or Backspace key on your keyboard.
That’s it! As you can see, customizing your slides is as easy as pie in PowerPoint. Next up, lets see how we can add new placeholders in a slide.
How to Add a Text Box in a Slide
Text can be inserted in a placeholder as well as in a text box. However, unlike placeholders, text boxes always stay put in the same location, even when you change themes. Let’s see how to add a text box inside a slide.
1. Select the Insert tab. In the Text group, click Text Box.
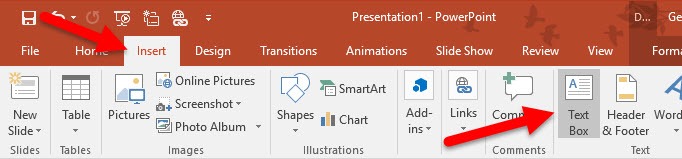
2. Click and drag inside the slide to draw a text box on the slide.
3. A text box will appear. You can now add text to it by clicking inside and typing.
How to Use Blank Slides
If you want more control over your placeholders, you can start with a blank slide and add whatever placeholders you desire. To insert a blank slide:
1. On the Home tab, in the Slides group, click the New Slide drop down arrow and select Blank.
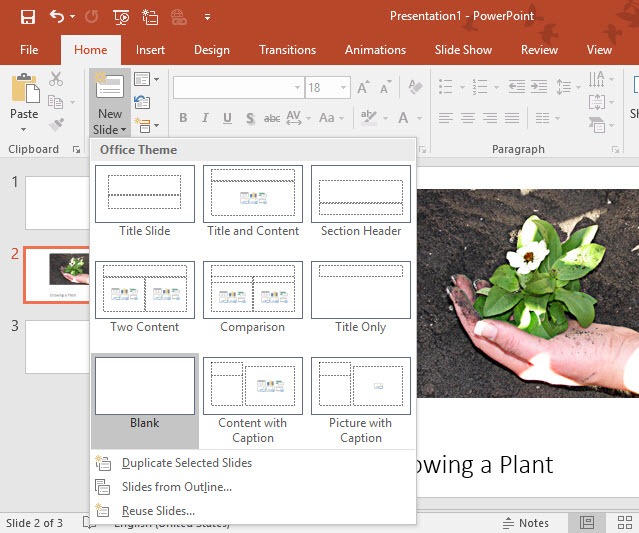
Blank slides offer more flexibility, but remember that you won’t be able to take advantage of the predesigned layouts if you change themes.
How to Customize Slides in a Presentation
Change the Slide Size
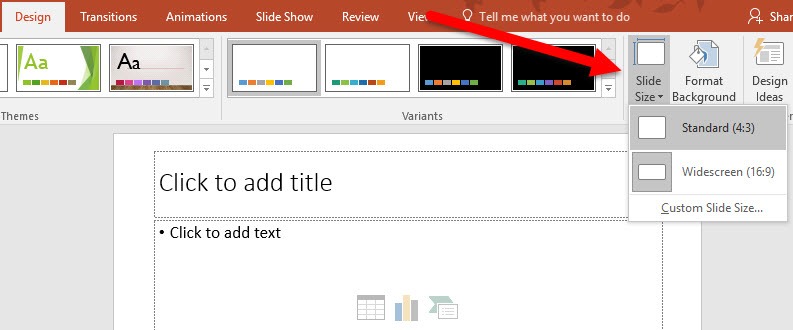
By default, all slides in PowerPoint use a 16x9 or widescreen aspect ratio. This works well on widescreen TVs or widescreen monitors and projectors. There may be times when you need your presentation to fit a 4×3 screen. In such instances, here’s how you change the slide size:
1. Select the Design tab.
2. In the Customize group, click Slide Size and select the desired slide size. If you want more options, click Custom Slide Size.
Format the Slide Background
By default, all slides in a presentation use a white background. If you want, you can change the background style for some or all of your slides. Backgrounds can have a solid, gradient, pattern, or picture fill. Here’s how to format the slide background.
1. Select the Design tab.
2. In the Customize group, click Format Background.
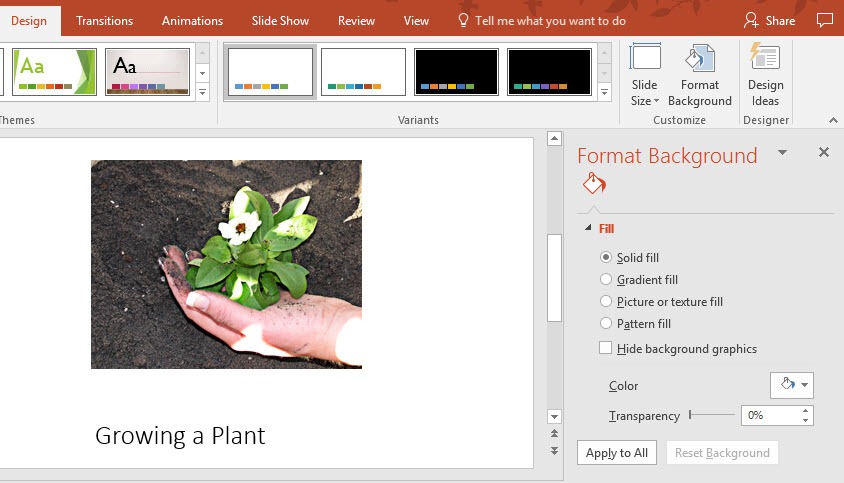
3. The Format Background pane will appear on the right side of the presentation. Select a fill option. In this example, I’m selecting a Gradient fill with a medium green accent.

5. The background of the selected slide will now display the selected color. If you want to apply the same background color and style to all slides in the presentation, in the Format Background pane, click Apply to All.
How To Apply a Theme to a Presentation
A theme is a layout that has a predefined set of colors, fonts, and effects that can instantly give your presentation a new look and feel. A theme can also feature different slide layouts, which can alter the position and arrangement of the existing placeholders. To apply a theme to a presentation:
1. Select the Design tab.
2. In the Themes group, on the Ribbon, you’ll see a gallery of options. Click the More drop-down arrow to see more themes.
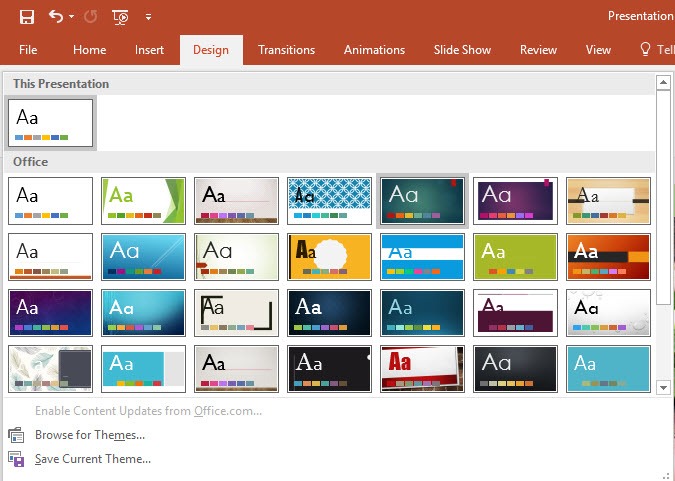
3. When you’ve selected a theme of your choice, click it to apply it to your entire presentation.
You can try a few different themes to your presentation to see which ones work best for your content.
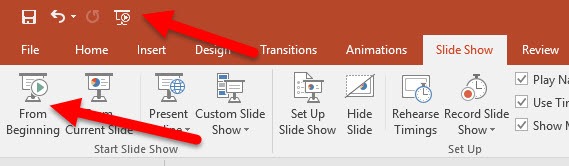
How To Play the Presentation
Once you’ve created your slides and arranged them in the correct order, you can play out your presentation to see how it will appear to an audience. To do this:
1. Select the Slide Show tab.
2. In the Start Slide Show group, click From Beginning. You can also click the Start from Beginning button on the Quick Access Toolbar or press F5 to start your slide show.
3. The presentation will now display in full-screen mode. You can advance to the next slide by clicking your mouse or pressing the Spacebar on the keyboard. You can also use the arrow keys on your keyboard to move forward or backward through the presentation.
4. To leave the presentation, press the Esc key or F5.
When you are creating your first presentation, knowing how to work with slides will help you in managing your content better. In the next part of this Learn PowerPoint series, we’ll touch upon some advanced techniques to customize and manage slides and layouts using Slide masters. Until then, open up a PowerPoint file and start practicing adding new slides and layouts and rearranging them to play a slide show.
Leave a Reply